Air Power: Installing a K&N Typhoon on the DOHC Civic Si

Rear wheel horsepower is the result of the combination of fuel and air, coupled with quality performance engine parts. Sometimes the simplest and least expensive performance upgrades can provide several additional horsepower with minimum effort. This '99 DOHC Civic Si is otherwise factory original, but the owner wanted to add a few horses without mortgaging the house or donating vital organs. After some research he selected the 1999-2000 K&N Typhoon Intake System #69-1010 for the L4-1.6L VTEC engine. On the dyno this fresh air kit generated 10.6 additional horses (see dyno chart), and had a street price of about $250. Not a bad investment considering the results.
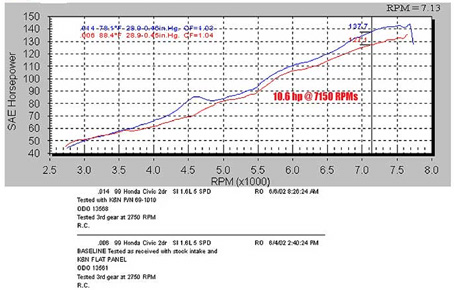
The Typhoon kit is a straightforward installation that can be accomplished without drilling or cutting, but obviously requires some Metric tools. Nothing exotic, just normal hand tools will do the trick. Provisions are supplied for the air temperature sensor and crank case vent, and the aluminum tubing looks great under the hood. It's a cosmetic as well a performance upgrade. Here's the basics of the installation which took us a couple hours working slowly and bench racing our way through it. Keep all your factory parts and hardware in case you want to put the car back to stock in the future.
After completing the install, start the engine with the trans in neutral or park and listen for any air leaks at the tube connections. Tighten the clamps as required. This kit will function identically to the factory system except for being louder and more responsive.
Installation
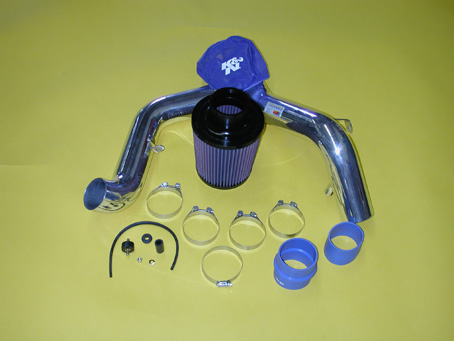
The Typhoon kit comes with everything you need to accomplish this simple installation. Just supply your own tools and the desire to add power.
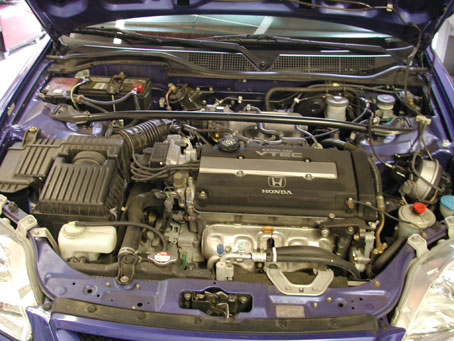
The stock Honda air intake system is functional but unsightly to say the least. All that filter stuff on the left is about to get offed!
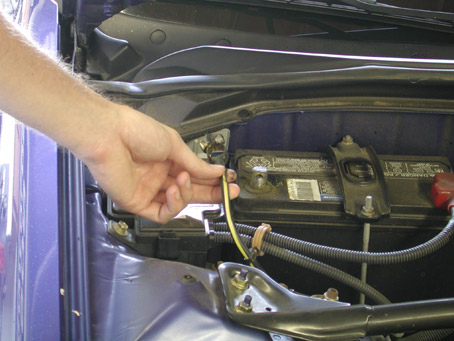
Whenever working under the hood it's a good idea to disconnect the battery, so pop off the negative cable before starting.
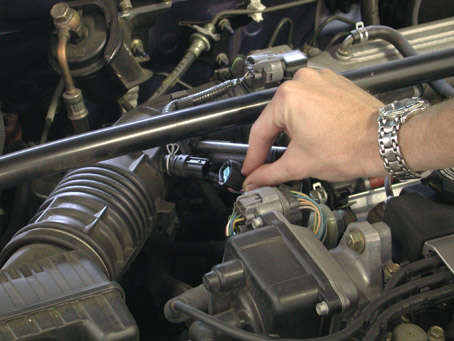
Remove the air temperature sensor plug from the stock intake tube. Use care not to break the plastic plug which might be brittle from under hood temperatures.
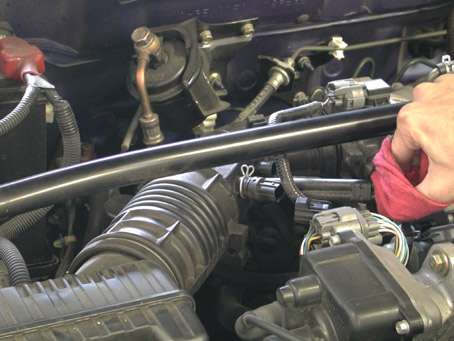
Pull the metal crank case vent tube from the rubber hose on the intake tube. This tube can be hot if the engine is still cooling down, so use a rag or gloves to protect yourself.
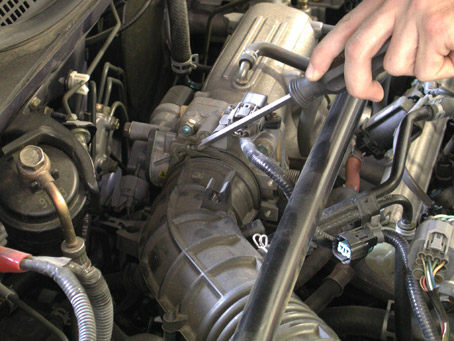
Loosen the factory clamp at the throttle body and pull the other end free from the air box. Be careful not to damage the original parts during removal, as you might want to replace them down the road.
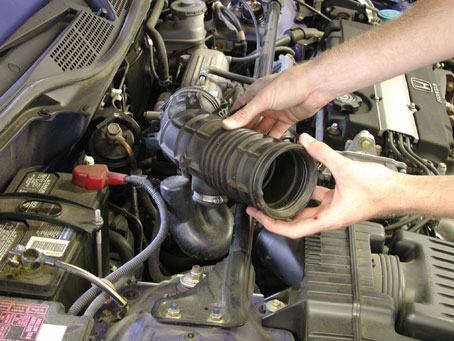
The stock intake tube can now be removed from the car.
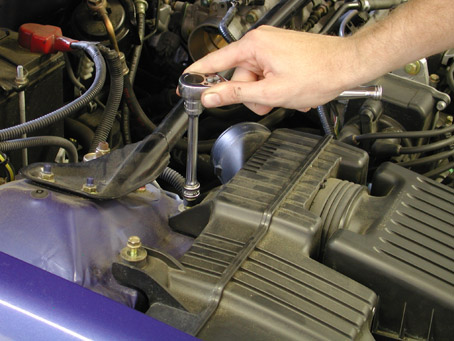
The air cleaner box is secured with two bolts at the rear and a slip-fit grommet attachment at the lower front. Keep all the original attaching hardware with the parts they were used on. Never trust memory, it fails.
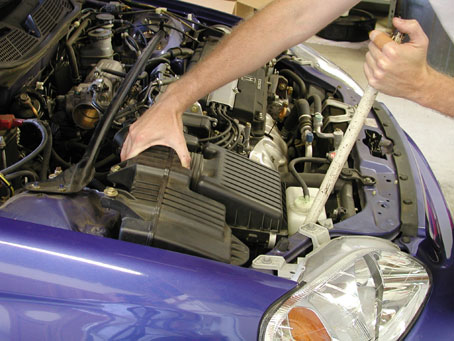
We used a pry bar at the lower slip-fit grommet to free it for removal. We tried pulling and that didn't work, so we got a little persuasive help.
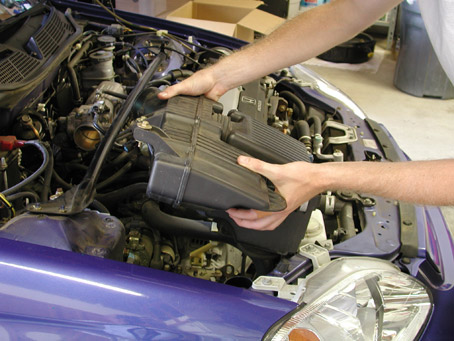
Once the box is free, remove it leaving the lower tube attached to it in the car. That comes out from the bottom.
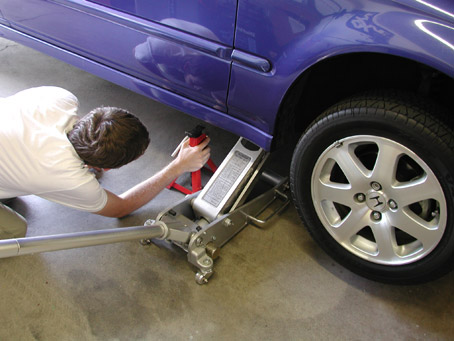
Jack up the car and place a jack stand securely under the frame rail. Then remove the passenger side front wheel to access the inner fender panel attaching points.
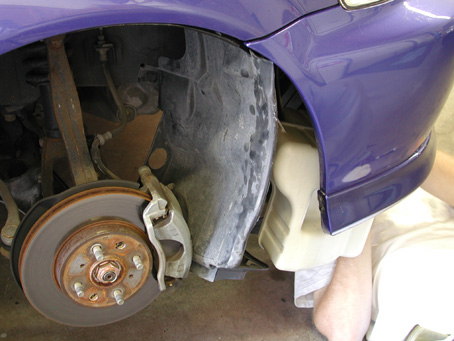
Remove the plastic inner fender push-in plastic retainers and lower the panel back toward the brake caliper. This will provide access to the resonator and duct.
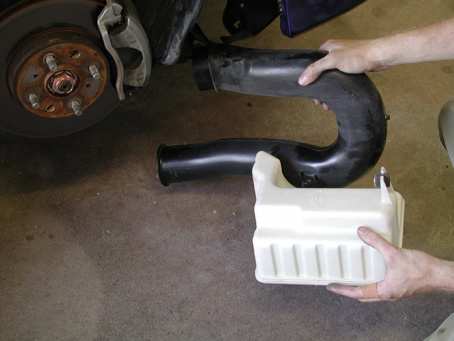
Three bolts secure the resonator. After removing the resonator the air duct will drop out. Again put these parts safely in storage along with the hardware.
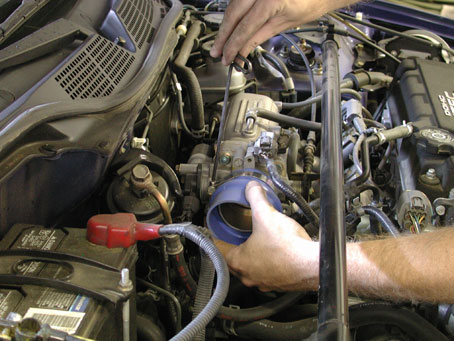
Install the throttle body tube with clamp to the unit as shown. Don't tighten the clamp completely; just snug it up to hold the connector.
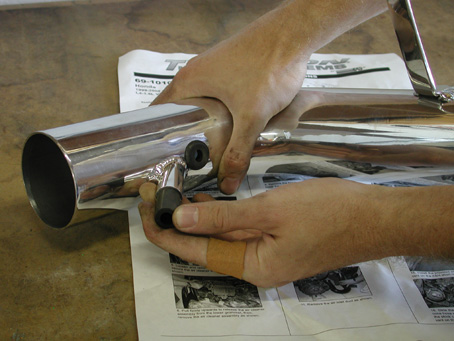
Install the crank case vent rubber hose and air temp sensor grommet onto the K&N intake tube per the instructions.
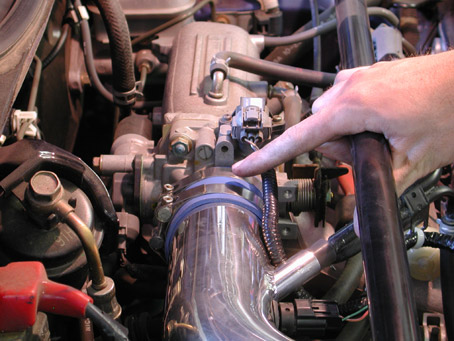
The intake tube can now be positioned into the connector tube and the metal crank case vent tube and air temperature sensor installed into the tube. The arm attached to this tube easily mounts to the starter motor top bracket per the instructions.
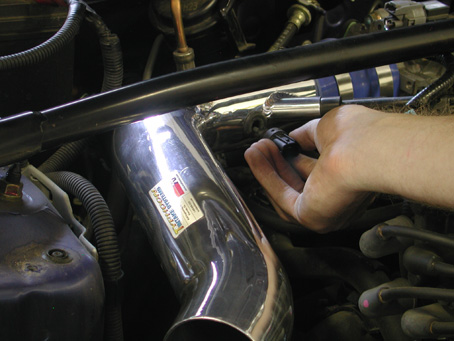
The air temp sensor simply pushes into the rubber grommet you installed in the tube. You may have to remove the wiring harness for the sensor from its original bracket mounting to provide additional wire length for the connection.
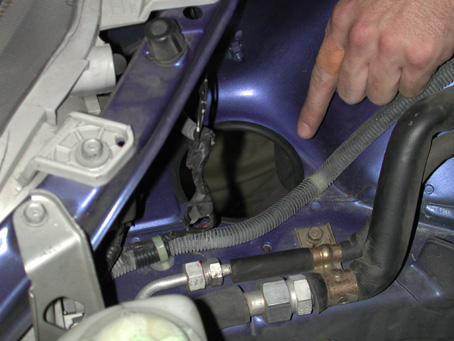
A rubber gasket is supplied for installation around the hole for the intake tube that routes under the fender. It simply pushes on around the edges of the hole preventing metal to metal contact.
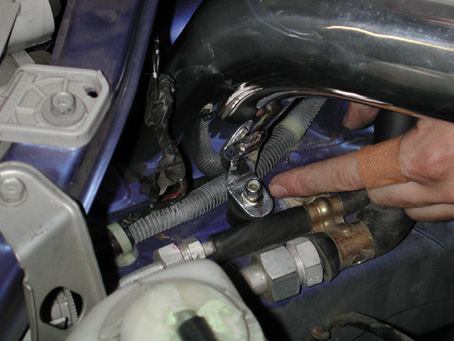
The lower intake tube mounts to this rubber insulated stud with a supplied washer and nut.
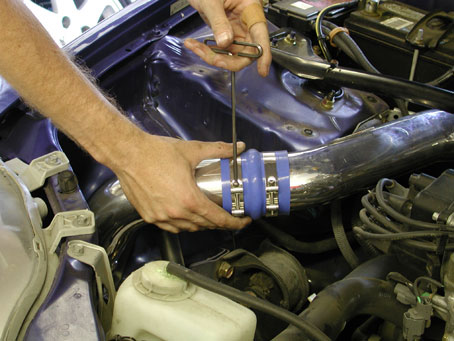
Once the lower tube is secured in position, permanently tighten all the clamps and attaching points.
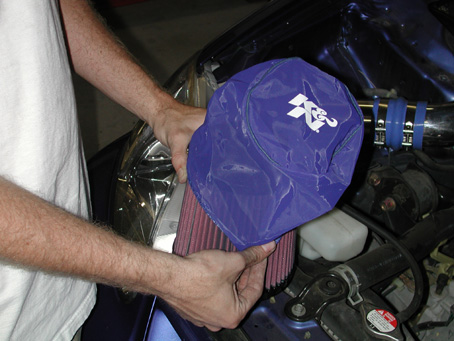
Install the K&N Drycharger over the filter as shown, completely covering the filter element front and rear.
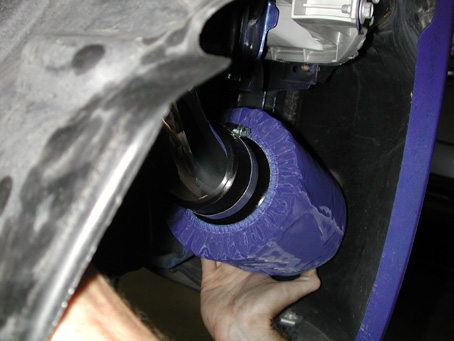
The filter is now attached to the end of the lower intake tube with the supplied clamp and tightened. The plastic inner fender can now be secured back into position with the original push-in retainers and bolts.
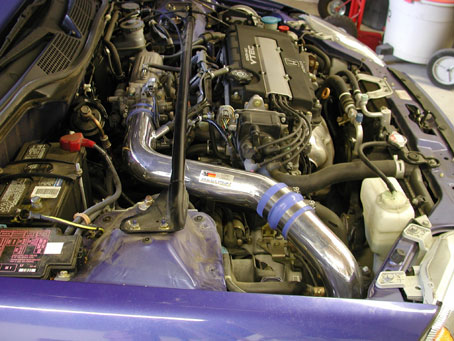
The engine compartment looks considerably cleaner, and the chrome intake tubes add a performance touch to the system. This is an install any novice enthusiast can easily accomplish in an afternoon.
Source
K&N Engineering, Inc.
1455 Citrus Ave.
Riverside, CA 92507
951/826-4000
www.knfilters.com
Back to the article index.