|
|
 20190605_175826.jpg | Hits: 136 | Size: 89.31 KB | Posted on: 6/19/19 | Link to this image 20190605_175826.jpg | Hits: 136 | Size: 89.31 KB | Posted on: 6/19/19 | Link to this image
|
|
|
 20190607_182212.jpg | Hits: 134 | Size: 86.21 KB | Posted on: 6/19/19 | Link to this image 20190607_182212.jpg | Hits: 134 | Size: 86.21 KB | Posted on: 6/19/19 | Link to this image
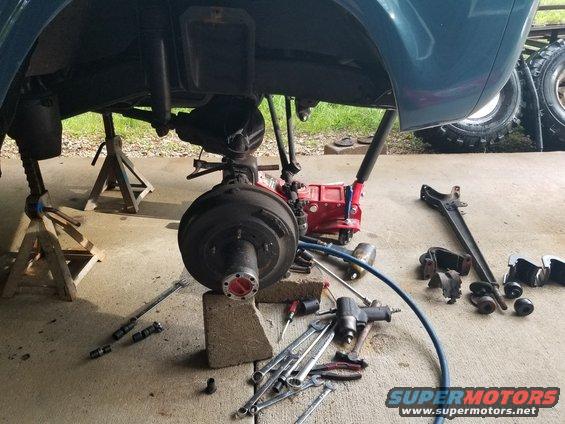
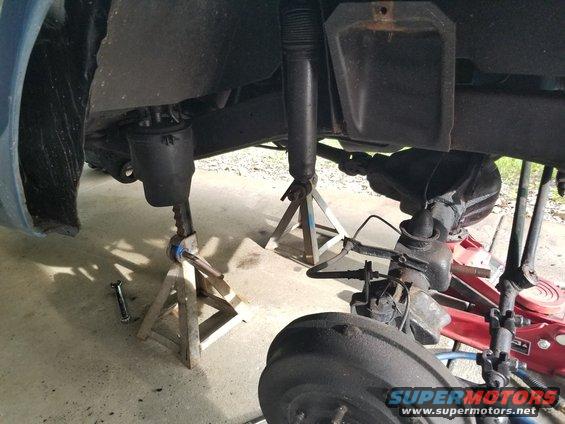
At this point, I've unbolted the shock, removed the front diff. vent nipple so there's more slack for the hose, removed spring upper retainer, removed the radius arm cotter pin & nut, and supported the frame on jack-stands so the spring is unloaded & loose. The spring retainers should be marked to make installation easier later. I removed the 2 lower retainer bolts, retainer, spring, & cup; then the 4 bolts on the front cap of the Right radius arm. I used a ratchet strap to pull the axle forward JUST ENOUGH to get that radius arm out.
|
|
|
 20190607_182239.jpg | Hits: 138 | Size: 74.74 KB | Posted on: 6/19/19 | Link to this image 20190607_182239.jpg | Hits: 138 | Size: 74.74 KB | Posted on: 6/19/19 | Link to this image
I cup-brushed the rusty axle perches down to shiny metal; later, I spray-painted them, and applied a light film of silicone grease (included with the master kit) to all the bushing surfaces to allow everything to slip into proper alignment during assembly.
|
|
|
 20190607_182126.jpg | Hits: 126 | Size: 74.74 KB | Posted on: 6/19/19 | Link to this image 20190607_182126.jpg | Hits: 126 | Size: 74.74 KB | Posted on: 6/19/19 | Link to this image
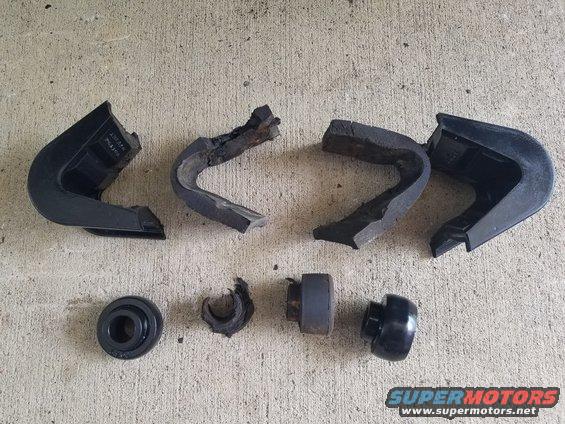
These might have been factory 1974 bushings, judging by their condition.
It's critical to pay attention to the instructions molded into the C-bushings so they're installed properly. Installing them wrong induces "Bronco lean", and all this work has to be re-done to rearrange the bushings correctly.
|
|
|
 20190607_190058.jpg | Hits: 121 | Size: 90.85 KB | Posted on: 6/19/19 | Link to this image 20190607_190058.jpg | Hits: 121 | Size: 90.85 KB | Posted on: 6/19/19 | Link to this image
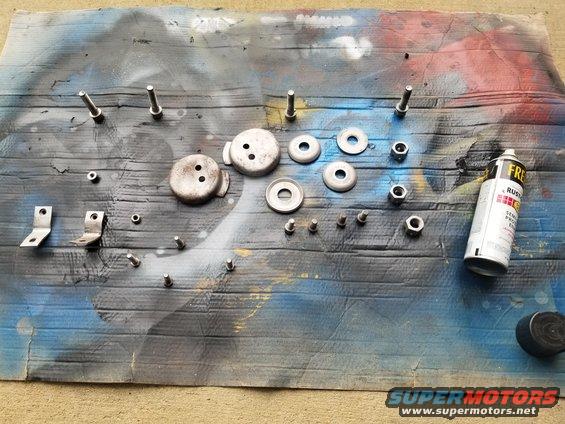
I sandblasted most of the hardware, and painted it black.
|
|
|
 20190608_111253.jpg | Hits: 132 | Size: 104.49 KB | Posted on: 6/19/19 | Link to this image 20190608_111253.jpg | Hits: 132 | Size: 104.49 KB | Posted on: 6/19/19 | Link to this image
The Left side bushings were at least as bad as the right. Additionally, I had to chase the damaged threads in that radius arm, & its 4 cap bolts. I had to put some weight is back on the springs (so the RAs are pointing straight through the frame bracket holes) before I could install the rear RA bushing/washer/nut/cotter pin.
|
|
|
 20190608_123005.jpg | Hits: 127 | Size: 85.84 KB | Posted on: 6/19/19 | Link to this image 20190608_123005.jpg | Hits: 127 | Size: 85.84 KB | Posted on: 6/19/19 | Link to this image
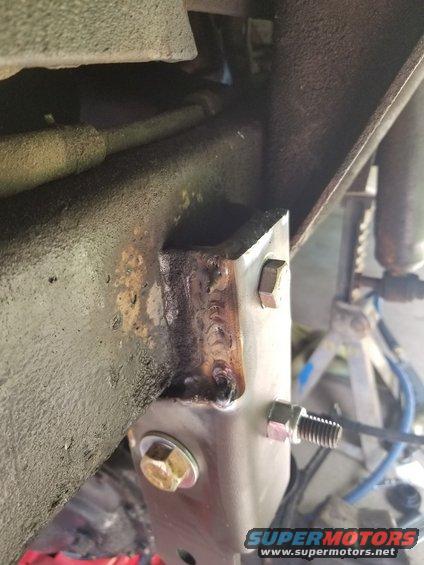
Just in case it's necessary (due to the track bar angle creating bad handling), I installed Tom's drop bracket.
|
|
|
I turned out that this aftermarket adjustable track bar is too long to work in the lower position. So for now, it's still in the original frame hole, but it's aligned so the steering wheel is straight.
|
|
|
 20190608_182407.jpg | Hits: 130 | Size: 64.84 KB | Posted on: 6/19/19 | Link to this image 20190608_182407.jpg | Hits: 130 | Size: 64.84 KB | Posted on: 6/19/19 | Link to this image
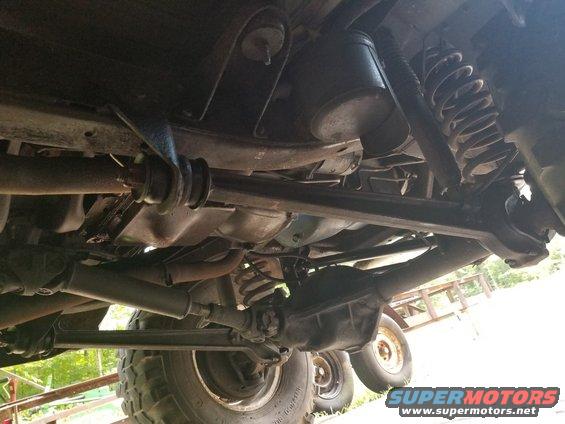
The front axle is now held in its correct position, so the truck can be aligned, and new tires can go on. I applied Rust-Oleum Rubberized Undercoating spray to all the exposed steel (welds, bracket, threads, etc.).
|